
Guest Blogger: Planning for the New Year by Planning with Emily
Hi WashiGang fam!


-
Use baking paper over the top of your planner pages so you can play around with stickers and reposition until you are happy.
-
Experiment with placing stickers ‘off centre’ to create a fun and unique look.
-
Don’t discard any floral (or similar) off cuts as these can be incorporated back into the spread either next to a box or something similar. I reused these little leaves from an off cut and they look so effective next to this pink decorative box! I’ve found the little details really add something extra to a spread!
 Continuing my Summer theme, I decided to go with an ocean vibe for my January monthly spread as nothing speaks more to my soul in Summer than the ocean! How cute are these Appree Nature Stickers: Seashell on my sidebar?! I also used My Journal Ocean Decoration Stickers around the corners and more fun decorative stickers from Summer by The Happy Planner!


-
Gratitude lists
-
Party planning
-
Bucket lists
-
Christmas movie page
-
Natural lighting is so good for photo-taking. You really don’t need any fancy lighting equipment! I take all my photos under a large window in the front room of my house where the most natural lighting tends to be.
-
Camera: I just use my iPhone to take my photos! I always change the camera setting to ‘square’ or 1:1 ratio as this fits Instagram perfectly and you won’t need to do any cropping. I also find slightly angling the photo gives a nice touch too!
-
Props help tell the story of your spread. As my theme was Summer for this spread, I used as many ‘summery’ things around the house as I could find. Get creative with your props, it doesn’t have to be expensive! I’ve used scrapbook paper, placemats, fake flowers from the $2 store, carpet, washi tape, pens, the sticker book used to make the spread, cardboard, $3 vinyl rolls from k-mart I put onto white cardboard, dividers from my happy planner and I’ve even used a couple of dresses that were the right colour! The possibilities are endless!


Thank you so much for joining us! Make sure you give Emily a follow over on instagram @planningwith_emily to see more of her beautiful planner spreads.
We're also keen to hear about your goals for the new year! Let us know in the comments!!
Continue Reading
-
 If you’re searching for the perfect Christmas gifts for stationery lovers, look no further. Find the perfect stationery gifts this Christmas. Shop journals, diaries, pens, stickers, Japanese stationery and creative supplies for every stationery lover at WashiGang.Read now
 -

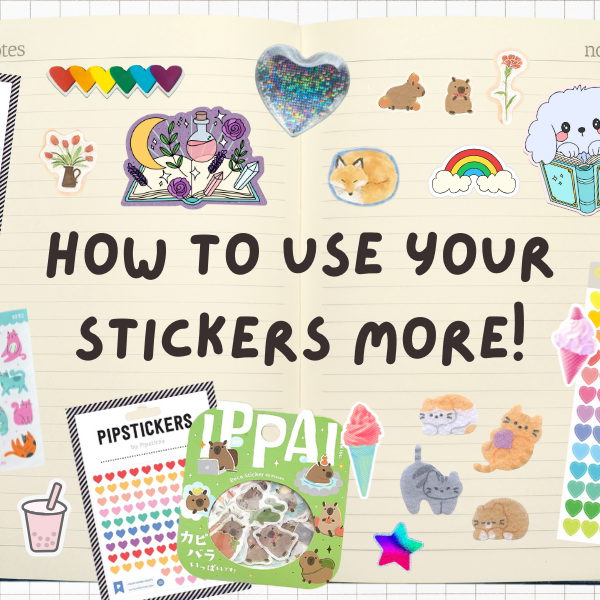
How to Use Your Stickers More!
Read nowIf you’ve been saving your stickers for “the perfect moment,” here are some fun and low-pressure ways to start using them up and enjoying them in your journal or everyday life.
-

Self-Care with Letter Writing
Read nowThere’s something oddly comforting about sitting down with a warm cuppa, your favourite pen, and a blank sheet of beautiful paper. It’s quiet. Slow. Intentional. In a world that’s always rushing and buzzing, letter writing offers a pocket of peace—a soft little pause that says, “You can breathe here.”
It’s not just nostalgic—it’s a form of self-care. Here’s why letter writing (with cute stationery, of course) might just be the most underrated way to chill out and reconnect with yourself and others.


![[TRENDING] Uni-Ball Gel Pens](http://www.washigang.com/cdn/shop/files/Screenshot_2025-11-11_at_3.38.08_pm_300x300.png?v=1762839527)
![[NEW] Mildliner 2025 'Calm' Colours](http://www.washigang.com/cdn/shop/files/Zebra_Calm_300x300.jpg?v=1750726556)


Comments
Leave a comment